As we know, Photoshop Elements doesn't let us drawing on existing vector mask. Which means there are quite a few things we can do with this kind of a mask.
- First off, you can press [Ctrl+T] to call Free Transform and then move, scale, rotate or skew vector mask (see example).
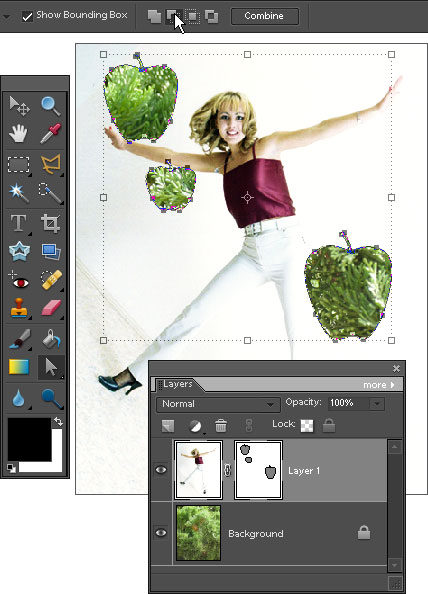
- If your mask includes several components (shapes) you can select those with the Shape Selection tool. To select multiple components hold down [Shift] key while clicking them (see example).
- After selecting a component (individual shape on vector mask) you can move it with Shape Selection tool, transform it, or delete it (with [Delete] key). Also, by holding [Alt] key while dragging a component you duplicate it.
- To swap masked and revealed areas, you select shape or multiple shapes with the Shape Selection tool (see example). Then, in the Options bar, click either "Add to shape area (+)" or "Subtract from shape area (-)" button (screenshot).
- To use ordinary (raster) editing methods for a vector mask, you rasterize it.
- To apply a vector mask, you rasterize it, then drag mask thumbnail onto the "trash"
 button, and click "Apply" button.